How to Quiet a Noisy Classroom Without Raising Your Voice
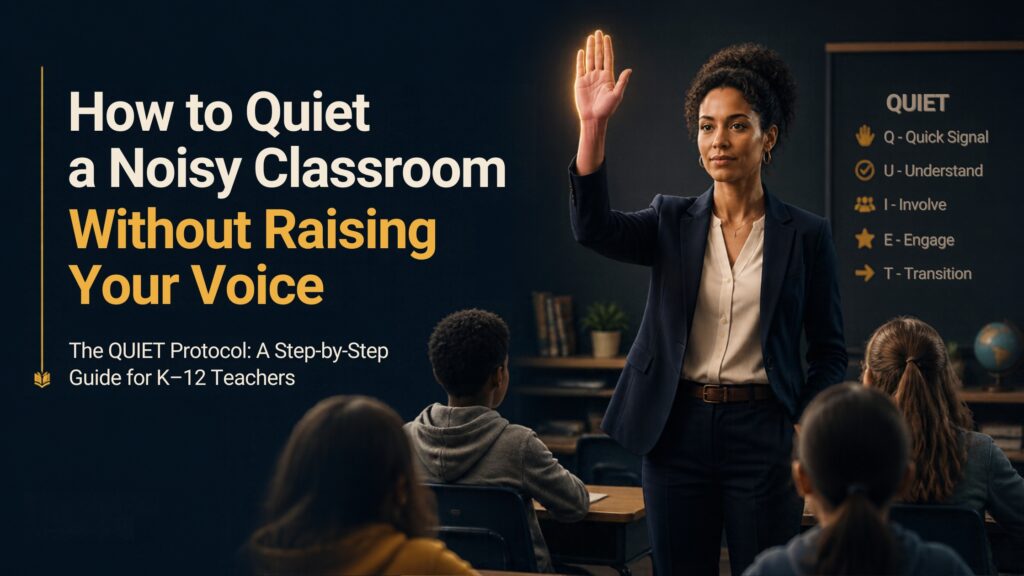
A Step-by-Step Guide for K–12 Teachers
Every teacher knows the moment. The activity ends, the transition begins, and within seconds the room rises from a hum to a roar. Instinct says: speak louder. Experience says: it rarely works.
When a teacher raises their voice over a noisy class, students do not hear authority. They hear competition. The unspoken message becomes the loudest voice wins, and the room responds by getting louder still. By the end of the day, the teacher is exhausted, the students are unsettled, and nothing has changed.
The truth is that classroom noise is rarely a discipline problem. It is a systems problem. Noise grows when a room lacks a shared signal, clear expectations, and a predictable rhythm. Fix the system, and the volume follows.
This guide introduces The QUIET Protocol, a five-step, psychology-backed framework that helps teachers at every grade level restore calm without shouting, threatening, or losing their composure.
The QUIET Protocol at a Glance
Q — Queue the Signal
U — Undercut the Volume
I — Illuminate the Right Behaviour
E — Exhale Into the Pause
T — Task the Talk
Each step is grounded in how the human brain responds to cues, attention, and social influence. That is why it works across age groups, school types, and cultures, in classrooms from Accra to Atlanta and from Manila to Manchester.
Before You Begin: Install the System When the Room Is Calm
The most common mistake teachers make is introducing a quiet signal in the middle of chaos. A signal taught during noise becomes more noise. A signal rehearsed during calm becomes a reflex.
Choose a calm moment, ideally the first ten minutes of a lesson, and say something like:
“When you see or hear this signal, voices go to zero and eyes come to me. Let’s practise.”
Rehearse it three times. Turn it into a challenge by timing how quickly the class responds, and celebrate improvement. Repeat this practice daily for the first week.
Why it works: This is classical conditioning in action. By repeatedly pairing a specific cue with a specific behaviour, you train the class to respond to the cue automatically. Over time, the signal does the work your voice used to do.
Step One: Queue the Signal
Select one consistent attention signal and commit to it for the entire term. Changing signals frequently weakens their power.
Effective options include:
A chime, bell, or rain stick — ideal for early years and primary classrooms
Call-and-response — for example, “Class, class!” answered with “Yes, yes!”
The raised hand — the teacher raises a hand, students raise theirs and fall silent
A single dim of the lights — a neutral, mature cue well suited to secondary students
Pair your signal with a consistent physical position in the room. When you always stand in the same spot to call for attention, that location becomes an attention anchor. Eventually, many students will quiet down simply by seeing you walk to it.
Step Two: Undercut the Volume
When the room gets louder, get quieter.
Lowering your voice below the level of the room creates curiosity. Students lean in because they sense they are missing something. At the same time, move calmly towards the loudest area of the room. Physical proximity corrects behaviour without confrontation.
Try this in a soft, steady voice:
“If you can hear me, touch your nose… If you can hear me, fold your arms… If you can hear me, eyes on me.”
The students nearest to you respond first. The others notice, feel left out, and quickly join in.
Why it works: This draws on social proof, the tendency to follow the behaviour of the group. Once a visible majority complies, the rest of the class follows naturally.
Step Three: Illuminate the Right Behaviour
Many teachers instinctively narrate what is going wrong: “Some people are still talking. I’m waiting for the back row.” This draws attention, and therefore reinforcement, to the very behaviour you want to reduce.
Instead, narrate what is going right:
“Table Two is ready. Thank you, Daniel, eyes forward. I can see six people with their pens down and their attention on me.”
Be specific, calm, and genuine. Every positive statement acts as an instruction to the students who have not yet complied, without singling anyone out or creating a power struggle.
Why it works: Behaviour-specific praise is one of the most well-researched strategies in classroom management. Attention fuels behaviour, so place the spotlight on the behaviour you want to grow.
Step Four: Exhale Into the Pause
This is the step most teachers skip, and it is often the most powerful.
Once you have given your signal, stop talking. Stand still. Breathe. Wait.
Do not begin your instruction until the room is fully silent. If you speak over even a small amount of noise, you teach students that some noise is acceptable, and that boundary will keep shifting.
Hold the silence for up to ten seconds. To you, it will feel long. To your students, it communicates calm, confidence, and control.
If the pause needs reinforcement, add a quiet countdown: “Five… four… three…” and complete the final numbers silently on your fingers.
Why it works: Silence creates tension that the brain naturally wants to resolve. A still, composed teacher signals authority. Repetition, pacing, and raised volume signal stress, and students pick up on it immediately.
Step Five: Task the Talk
Students are social by nature, and talking is not the enemy of learning. Unstructured talk creates chaos; structured talk creates engagement. The goal is not to eliminate conversation but to give it a clear purpose and limit.
Introduce a Voice Level Chart and display it where every student can see it:
Level 0 — Silent: independent work, reading, assessments
Level 1 — Whisper: partner work
Level 2 — Table Talk: small-group discussion
Level 3 — Presenting: speaking to the whole class
Before each activity, set the expectation clearly:
“This is a Level 1 task. Show me what a Level 1 voice sounds like with your partner… excellent.”
Then design talk into your lessons deliberately. Use turn-and-talk moments, think-pair-share, and timed group discussions. When students know their chance to speak is coming, they are far more willing to hold it.
Why it works: Predictability lowers anxiety and restlessness, two hidden drivers of classroom noise. Clear structure gives students the security to self-regulate.
Making It Stick: Three Habits of Calm Classrooms
Correct privately, praise publicly. A quiet word at a student’s desk is more effective than a public warning. Public corrections create an audience; private ones remove it and preserve the relationship.
Reward the whole class. Set a shared goal, such as adding a marble to a jar or a point on the board for every quick, quiet transition. When the class reaches the target, celebrate together. Group goals turn classmates into allies who help maintain the calm.
Reflect together every week. Ask students: “What helped us focus this week? What made it difficult?” When students help shape the system, they take ownership of it.
Adapting the Protocol by Grade Level
Kindergarten to Grade 2: Use songs, chimes, and movement-based signals. Keep routines playful and practise them every day. Young children learn through repetition and rhythm.
Grades 3 to 5: Introduce the Voice Level Chart and whole-class reward goals. Invite students to take turns leading the attention signal to build ownership.
Grades 6 to 8: Prioritise proximity, private correction, and relationship-building. Avoid signals that might feel childish, as early adolescents are highly sensitive to how they are perceived.
Grades 9 to 12: Rely on the strategic pause, neutral cues, and mutual respect. Frame focus as a mark of maturity and professionalism: “Let’s bring the same focus we’d bring to a job interview.”
The 7-Day Quiet Classroom Challenge
Ready to put the protocol into practice? Commit to one new habit each day for a week.
Day 1: Choose your attention signal and rehearse it with your class.
Day 2: Practise lowering your voice whenever the room gets louder.
Day 3: Narrate only positive behaviour for an entire lesson.
Day 4: Master the ten-second pause before every instruction.
Day 5: Introduce and display the Voice Level Chart.
Day 6: Launch a whole-class reward goal.
Day 7: Hold a class reflection and refine your routines together.
By the end of the week, you will notice a difference not only in the noise level of your room but also in your own energy at the end of each day.
Final Thoughts
A calm classroom is not created by the loudest teacher in the building. It is created by the most consistent one.
Authority is not something you announce. It is something you install, one signal, one pause, and one routine at a time. When students know exactly what is expected, when to listen, and when to talk, the noise no longer needs to be fought. It simply has nowhere to grow.
Start with one step tomorrow. Choose your signal, rehearse it in a calm moment, and let the system do the work your voice has been doing for far too long.
Found this guide useful? Share it with a colleague who deserves a calmer classroom, and follow Tomphonics Academy for more practical, research-backed strategies that help teachers transform how they learn, teach, and earn.